Monday, October 29, 2012

Pressing Wool


This is the second post on my wool coat project. I show the fabric and sketch for my coat sewing project (here) and I thought I would stop and demonstrate how I like to flatten 'puffy' seams in wool. It's lots of fun too!
First off, here is the bodice front dart. The shadow of that seamline shows up, and it would be nicer if it didn't, so I need to press it flat.
I use a water mister to dampen the wool fabric. How much water? Enough to bead up on the fabric surface should be fine.
Next, I cover the area with a linen tea towel. If you have a press cloth, you can use that too, of course. I have used different linen or cotton fabrics as a press cloth, even a handkerchief can work in a pinch. You should be able to feel the sewn seam under this cloth.
Now I set my hot iron on top. I use the wool setting. This method of pressing wool with water and press cloth is great for any type of wool garment, even sweaters. A vintage garment can be pressed this way and hung up damp to dry and it will look new again.

To continue flattening a seamline, I look for steam rising from the wool under it as it heats up. After maybe 15 seconds, I lift the iron and....
SLAM a brick down over the dart. Really? Yes!

Actually, I also have a nice wooden 'clapper' made for this task as well. You can use a short length of a pine 2X4, or a brick. Slamming down this instrument forces the steam through the wool fabric. It also flattens the seam.
Here you can see the brick imprint (hahaha)
When I lift the linen, notice how nicely the dart has flattened down. It looks so smooth and clean now. You may have noticed that this is a different seam. I used this technique for all darts and seamlines on this wool coat.

I hope you get a chance to try steaming wool. It is amazing how nicely wool will press, if you take the time to get it damp and use a press cloth too.

MATCHING woven lines in a diagonal seamline.
When I sew with pinstripes, or any fabric with woven lines, I pin baste along the seam line first. Then I open it up like you see here to be sure the pin stripes meet up. If they match, the lines will create a chevron down the seam line. This is the shoulder seam for the kimono sleeve. I won't be able to match the side seams because the geometry changes and the grain lines are not equal.

Thursday, October 25, 2012

Sewing a Retro Style Coat: Butterick 5824


This retro style coat sketch with fabric swatches shows my design idea for making the fun 50's look coat (Butterick 5824), designed by Gertie from Gertie's New Blog for Better Sewing. This project is supported by a great Flickr group too, where you can see what we are doing.

I wanted to sew up a version that was made from a very dark navy pin stripe wool that I have, so this design reflects the use of that fabric. It has a bit of lycra stretch to it which could make the lining a challenge, but I was able to find in the L.A. garment district a deep cherry red stretch satin for that lining. I love to use contrast linings, they are dramatic and fun.

I am sewing this for Miss A., which means that I can see, fit and alter the coat more easily than if it was for me. Plus, this is just her style. She wants to add a self-covered belt to accent her waistline, and I agree that on her curvey figure, a belt really helps to define her shape. That big semi-circle skirt and deeper kimono sleeves can tend to add bulk.


This is a front view flat of the garment design. The pattern has a waistline seam, which is great for fitting and shaping the body. The wide collar is the signature feature, along with the fuller semi-circle skirt. The front wraps across for a 'double breasted' fit.

For inspiration, I wanted to take the coat concept and give it a late 1940's through mid-1950's spin. This was the era of the new look, so I found a few fun fashion images to create a design direction. This first one is from 1948, and has a silhouette much like the pattern.
This next style is from the Lilli Ann label. This was a San Francisco company who specialized in lavish styles with full skirts, portrait collars and interesting details. This version has great turned back cuffs: maybe those will be added once we see the overall effect with the belt in place.
Have you noticed that a 'New Look' influence is showing up on the current runways? None more iconic than this smashing red coat-dress from Dior for this fall. The metal belt makes it current, while the overall silhouette is very 'New Look', referencing the late 1940's. From this design, I am considering patch pockets, but again, that will have to wait until we can see the coat on to know if the proportion will fit pockets on the skirt. Alot of what I do happens as I work. What seems fine in a sketch can change once it is on the figure.
Here is a close up of my design sketch, showing how the pinstripe can be used to define the shape. It is also a good opportunity to play with stripes. I am matching the shoulder seams so that they chevron (in my next post).


Wednesday, October 17, 2012

1964 Bold Wool Checks


The fashion illustrations here date from 1964. They feature shaped wool suits with bold checks. It's hard to think of a more classic 60's wool than hounds tooth, and here it is in full splendor. As examples of mid-1960's fashion, 3/4 sleeves (worn with long gloves) are almost equal to the short jacket length. The rolled collars are heavily interfaced to achieve that carefully curved line. The jackets probably have self covered buttons, in a bold, large scale typical of the Jackie O era.

Most likely drawn using colored chalk on an egg shell finish bond paper, these drawings have a glowing effect achieved by carefully controlling the lighting. For illustrating checks, these illustrations offer great inspiration and show how to not over-draw the details, rather how to suggest an overall effect to a better advantage.

When I can indentify the illustrator, I'll add that information here.

Wednesday, October 10, 2012

Let's Talk About: Categories of Women's Fashion

Women's Fashion Categories

When a designer works, are they making fashions for themselves? Rarely. More often the business is focused on a specific target customer and what she wants to buy. It is this person that the designer will produce designs for.

Most fashion companies have a specific type of garment that they are best known for. They don't 'jump' around and produce all different kinds of fashions. They will work hard to become well known in a certain category of fashion that is based on style and price. This is will be available at a limited type of store or web site where the target customer will shop.

How the ideal target customer plans their wardrobe, then finds and pays for it influences the design business. The kind of styles that are being made should fall into a category of fashion that relates to price, quality and where it is to be sold. In women's fashion there are several major customer categories where most apparel is found. The most common categories are:

Designer: This is an affluent shopper with little or no budget restraints. They are looking for unique fashions that are often introduced before most trends. They commonly want designer labels that demand a high price and are sold at high end boutiques or exclusive department stores.

Contemporary or Ready-to-Wear Bridge: This is also a higher priced fashion, but it is more available and less expensive than a designer's top label. This is the category where a famous designer's ready-to-wear fashions can be found. Department stores and boutiques will sell this product to a wider range of customers than the high end designer labels. Some of the types of apparel found in this category are: sportswear items such as tops and bottoms, career wear, dresses, lingerie, knits, sportswear, after 5 and special occasion dresses.

Missy : The missy shopper wants styles that are current in fashion, but not too outrageous or unusual. She loves fashion but doesn’t want to experiment with ideas that are unfamiliar, too sexy or dramatic. She may think the styles she buys are the latest designs because she often too busy to keep up with fashion week, runway reports or high fashion magazines. She has a budge so her price range is moderate and the labels she buys may be a well know brand’s more affordable product. The missy customer also looks for apparel that is easy to maintain, clean and wear. Most women’s apparel is available in this category: careerwear, sportswear, dresses, knits, denim, lingerie, special occasion and active wear.

Budget: This customer is looking for current fashion trends at a low price. They are not concerned with fine fabrics, expensive details and construction elements that might require a higher price. They want styles that look like what they see in the media, but are copied to be less expensive. These are the styles that are popular and favored by many people and could be fads that are happening at the time. Fashions in this category may be sold in chain and discount stores. This price bracket usually offers a more limited product selection: sportswear, tops and bottoms, casual dresses, work-out, knits, maternity, active wear, lingerie and sleepwear.

Junior: Although this is an ‘age’ category, it tends to attract a wide range of target customers who are from the early teens through adults in their fifties. The main criteria can sometimes be fit because the junior category usually has a shorter waist, smaller bustline and more narrow hips than the missy customer. The fabrics, colors and styles in this category are usually not classics. Styles are often those trends in high demand for a short time (fads). Because of the short term of use, this type of apparel may not be practical, durable or functional enough for long term wear. Seasonal apparel is most common with juniors who buy tops and bottoms, knits, casual dresses and special occasion during the holiday and prom season.

-------------------

Finding out more:

Now that you have read this article, what do you already know about the categories of women's fashions explained here? Try expanding on this article by listing brands, stores and websites for each category. It's also interesting to compare similar products. For this, select one type of apparel (white "T" shirt or denim jeans is good) then go online to find fashions for sale in various categories and price ranges (don't use sale items, find them at their full price). After looking at this, what category do you feel you would like to work in? Start making a file on this category with the top brands you see selling there and begin to study their product so you can become very familiar with the styles in it.

This original article on women's fashion categories is part 8 of a series on fashion design that are posted here at Pintucks. The contents of this article are the intellectual property of this blog. Please do not copy any content to another blog or digital media without contacting me first. I will ask that you link back to this article and give reference to this source within your feature. If you are using content for a research paper or project, please link back to this page in the traditional academic format, thank you!

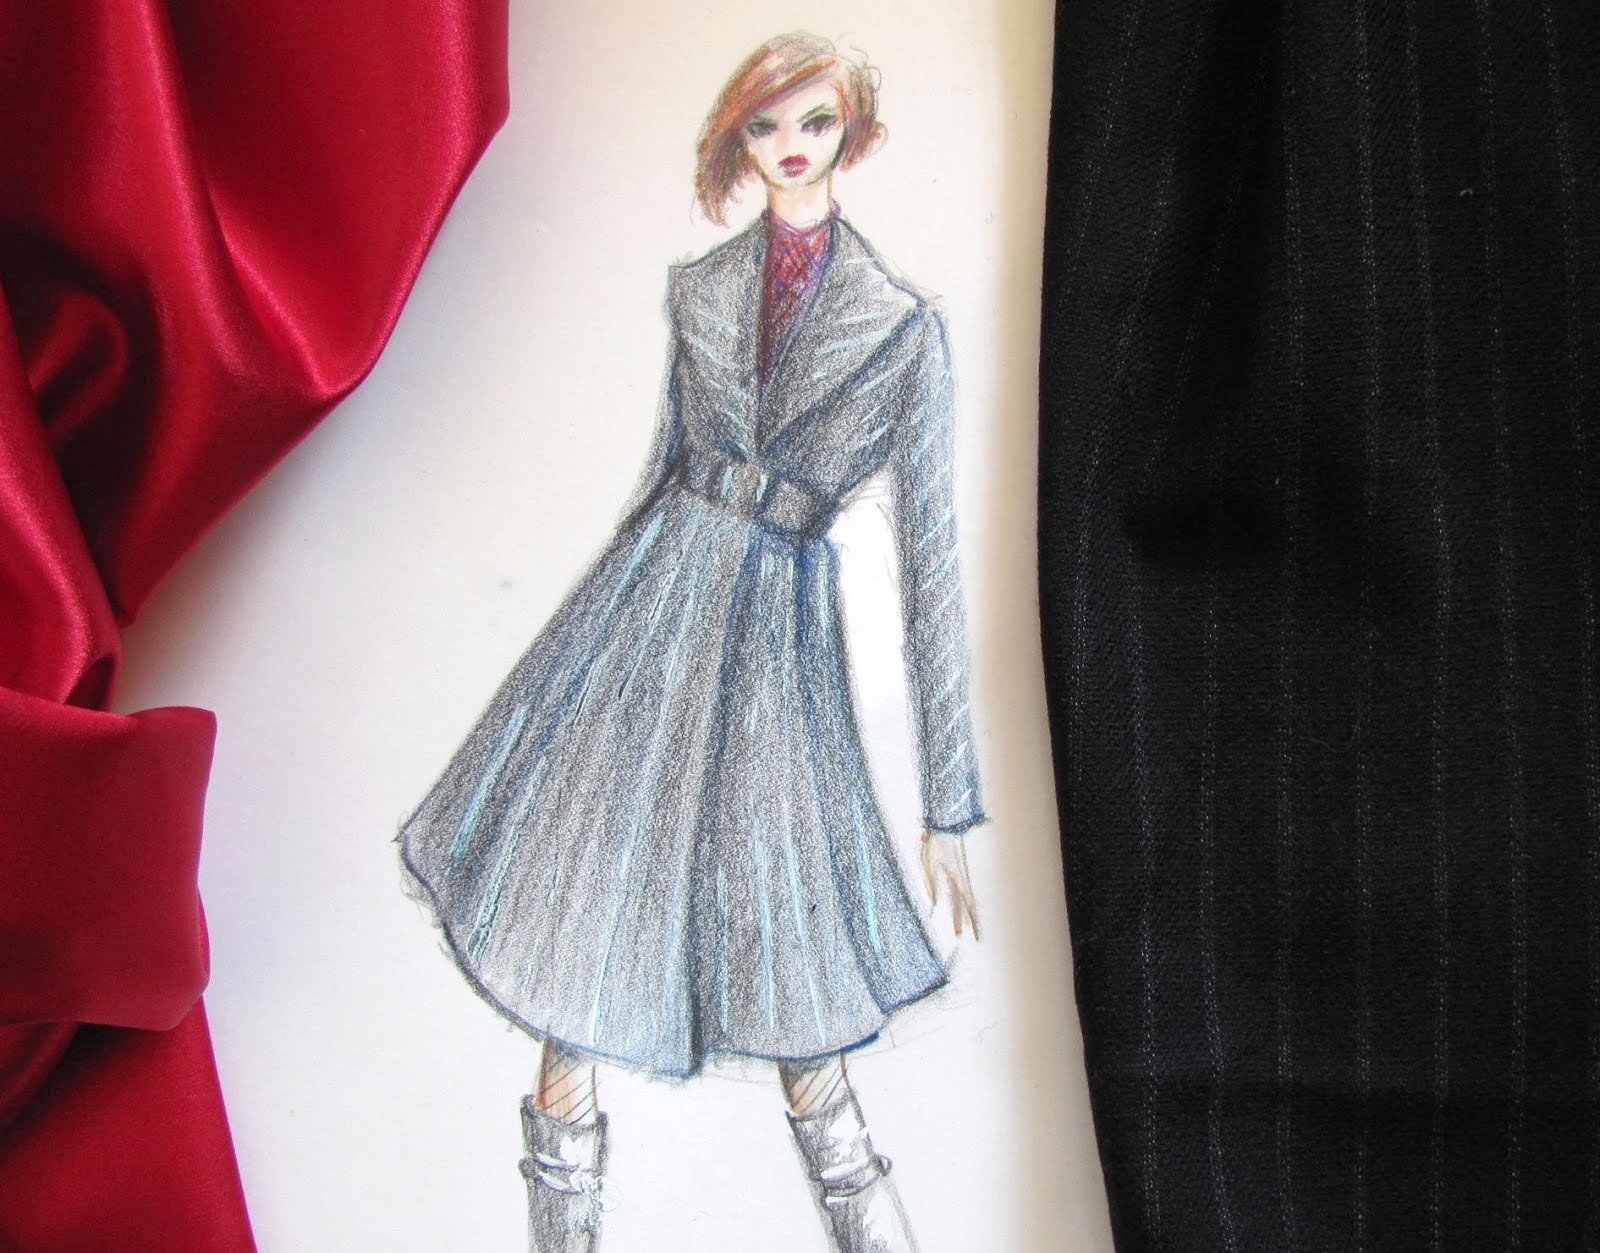
the photo shown here is from the mid-1980's

Monday, October 8, 2012

Australian Home Journal: Online Resource


Aren't these fashions from the 1940's and 50's delightful? They come from the terrific online source for "Australian Home Journal", 1949 - 1952.

In the "read online" format it can be viewed like a book with turning pages, or tiled. Personally I like the tiles best, since it's easy to scan the issue and enlarge only the pages you want to see.

Each issue has a few dress patterns. They are drawn in small scale, but are helpful if you want to copy a look from the magazine. Have fun with this site, you'll find it a great source for fashion for the average girl, guy and child during this era.

I want to thank Caitlin at "3:50 From Central" for pointing out this great fashion resource to me on her blog.

Friday, October 5, 2012

Sewing Tip: Dart Marking & Sewing


Cutting out and transferring dart markings can take up an entire evening. This method uses a minimum of fussing with the paper pattern and fabric layers.


To start, immediately after cutting out the pattern piece, stop and 'stab' a pin through all layers at each dot on the paper pattern that you want to transfer. Push the pins in straight (not slanted).

When all dots have pins in them, flip open the two fabric layers (step 2). You will see the pin passing through both fabrics. While the pin is in place, RUB a chalk (or fabric pencil) over the pin just where it enters the fabric (step 3). This will leave a tiny mark that is easy to see.


After marking the pins, remove the pattern from your fabric. Open the pattern piece flat on the work table. For each dart, mark the dart point with a + so you can see exactly where the point should be and the stitch line will stop. Fold through this +, creasing down the center length of the dart to the bottom edge where the notch clips can be matched.

Once the dart is folded, it's time to pin the dart together. Align the dots by weaving a pin in at one mark and out through the other mark. Then pull the dart together along the fold (step 5). This will be certain that both dots are aligned and match up. Use a second pin to pin both layers together, then remove the first pin.

It helps to be sure all pins are perpendicular to the sewing line. This will allow the sewing machine can sew across those pins easily. When you sew a fitting garment, be sure to use the largest stitch length, and contrast colored thread so you can easily remove the stitching if needed.


Thursday, October 4, 2012

Sewing Tip: Cutting out a Pattern


I was cutting out a fitting muslin and thought I would share a few tips for making the cutting and marking go faster. First and foremost, I use weights to hold my pattern down when I cut. I think getting away from the labor of pinning is essential! I make my own by filling cute containers and even cups with coins. It's a nice way to use the odd gift mug that you have sitting around unused. I also like tins with lids. If you haven't tried this method, you are in for a big treat, it's sooo easy!


I am making a fitting sample of this 50's inspired coat, Butterick 5824, that is part of a group sew-along at Gertie's New Blog for Better Sewing. I'll be sharing more of this with you as I go along. It's a fun looking coat, and should be easy to sew (no sleeves to set-in!).

Tomorrow I will share a few marking techniques that I like to use. Everyone seems to have their own way of getting those pattern markings on to their fabric, and I will show you how I like to work that out.